Construction of modules
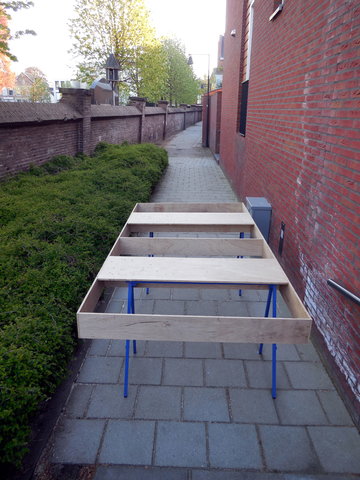
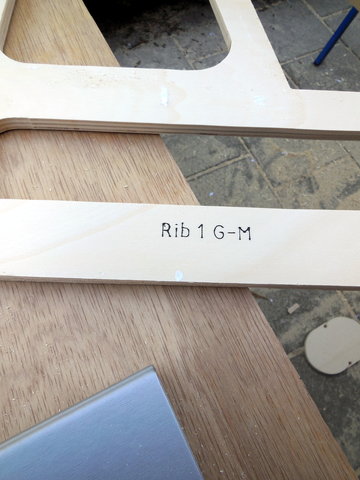
The three modules of the undercarriage are constructed from ribs of 12 mm plywood. The base plates to support the rails are of 9 mm plywood with 4 mm side panels in some places to prevent sagging.
Page updated on 11 September 2025


This web page covers the techniques, construction and tools for making the undercarriage of my TT model railway.
The three modules of the undercarriage are constructed from ribs of 12 mm plywood. The base plates to support the rails are of 9 mm plywood with 4 mm side panels in some places to prevent sagging.
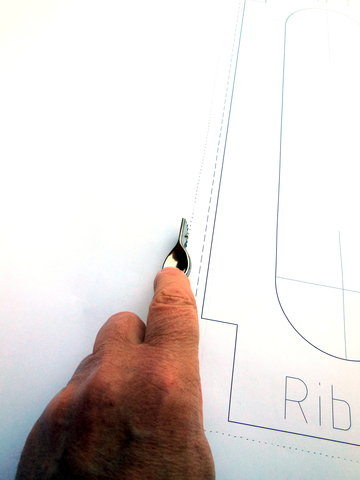
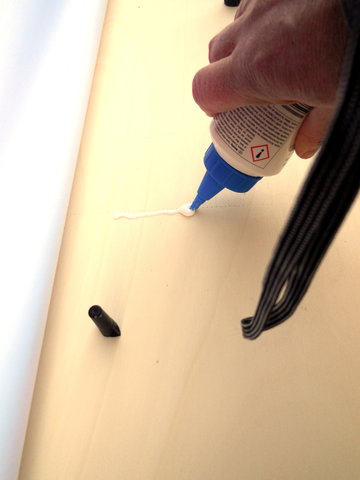
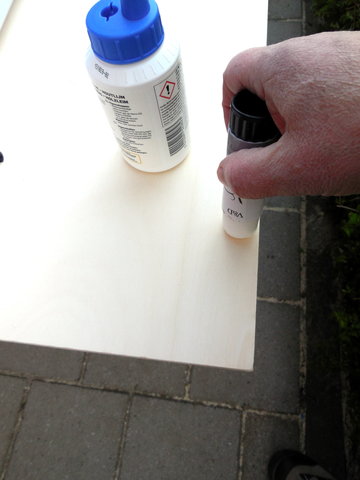
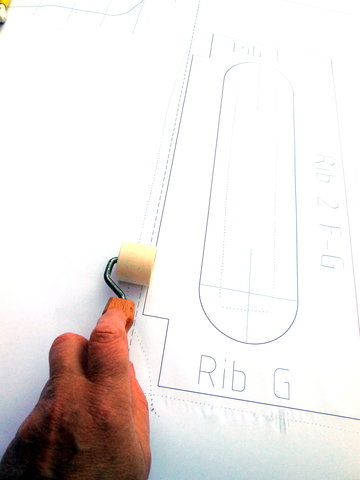
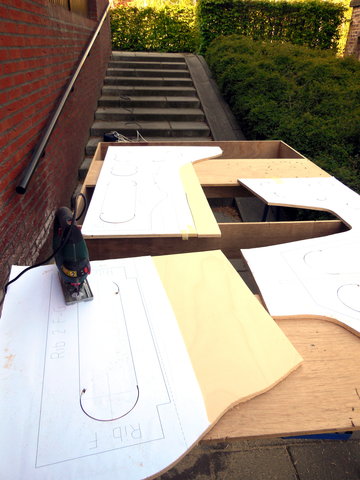
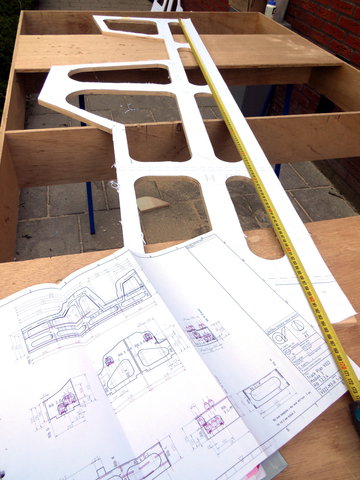
The ribs were drawn on a computer and printed full size. Then they were glued to the 12 mm plywood sheets and cut out.
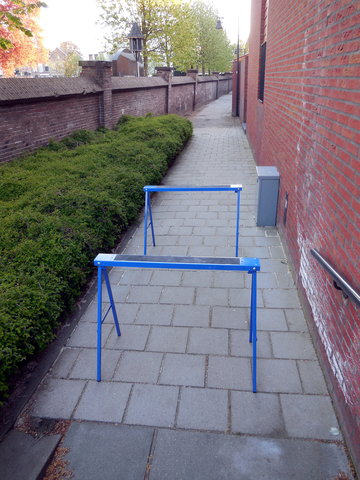
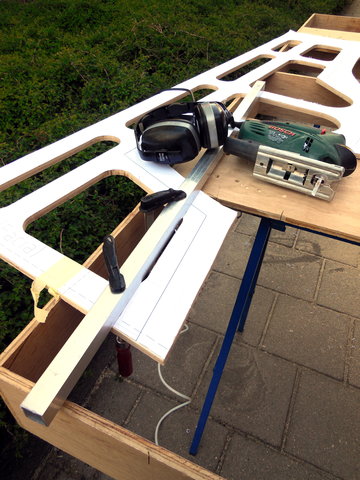
Here I show that the wooden skeleton fits.
With two parallel tracks through a rib the hole is round and can be drilled with a circle drill with a diameter of 55mm for ease of cutting. This method is only possible with two parallel tracks and if there is enough wood to drill the holes without weakening the ribs. In all other cases several drill holes and saw cuts are used to make holes for tacks through ribs, see the drawing of ribs below.
